
How to Record Drums in Your Home Studio: Tips and Tricks
Drums are one of the most important instruments in any band, and recording them well can be a challenge. But with a little know-how, it's definitely possible to get great drum sounds in your home studio.
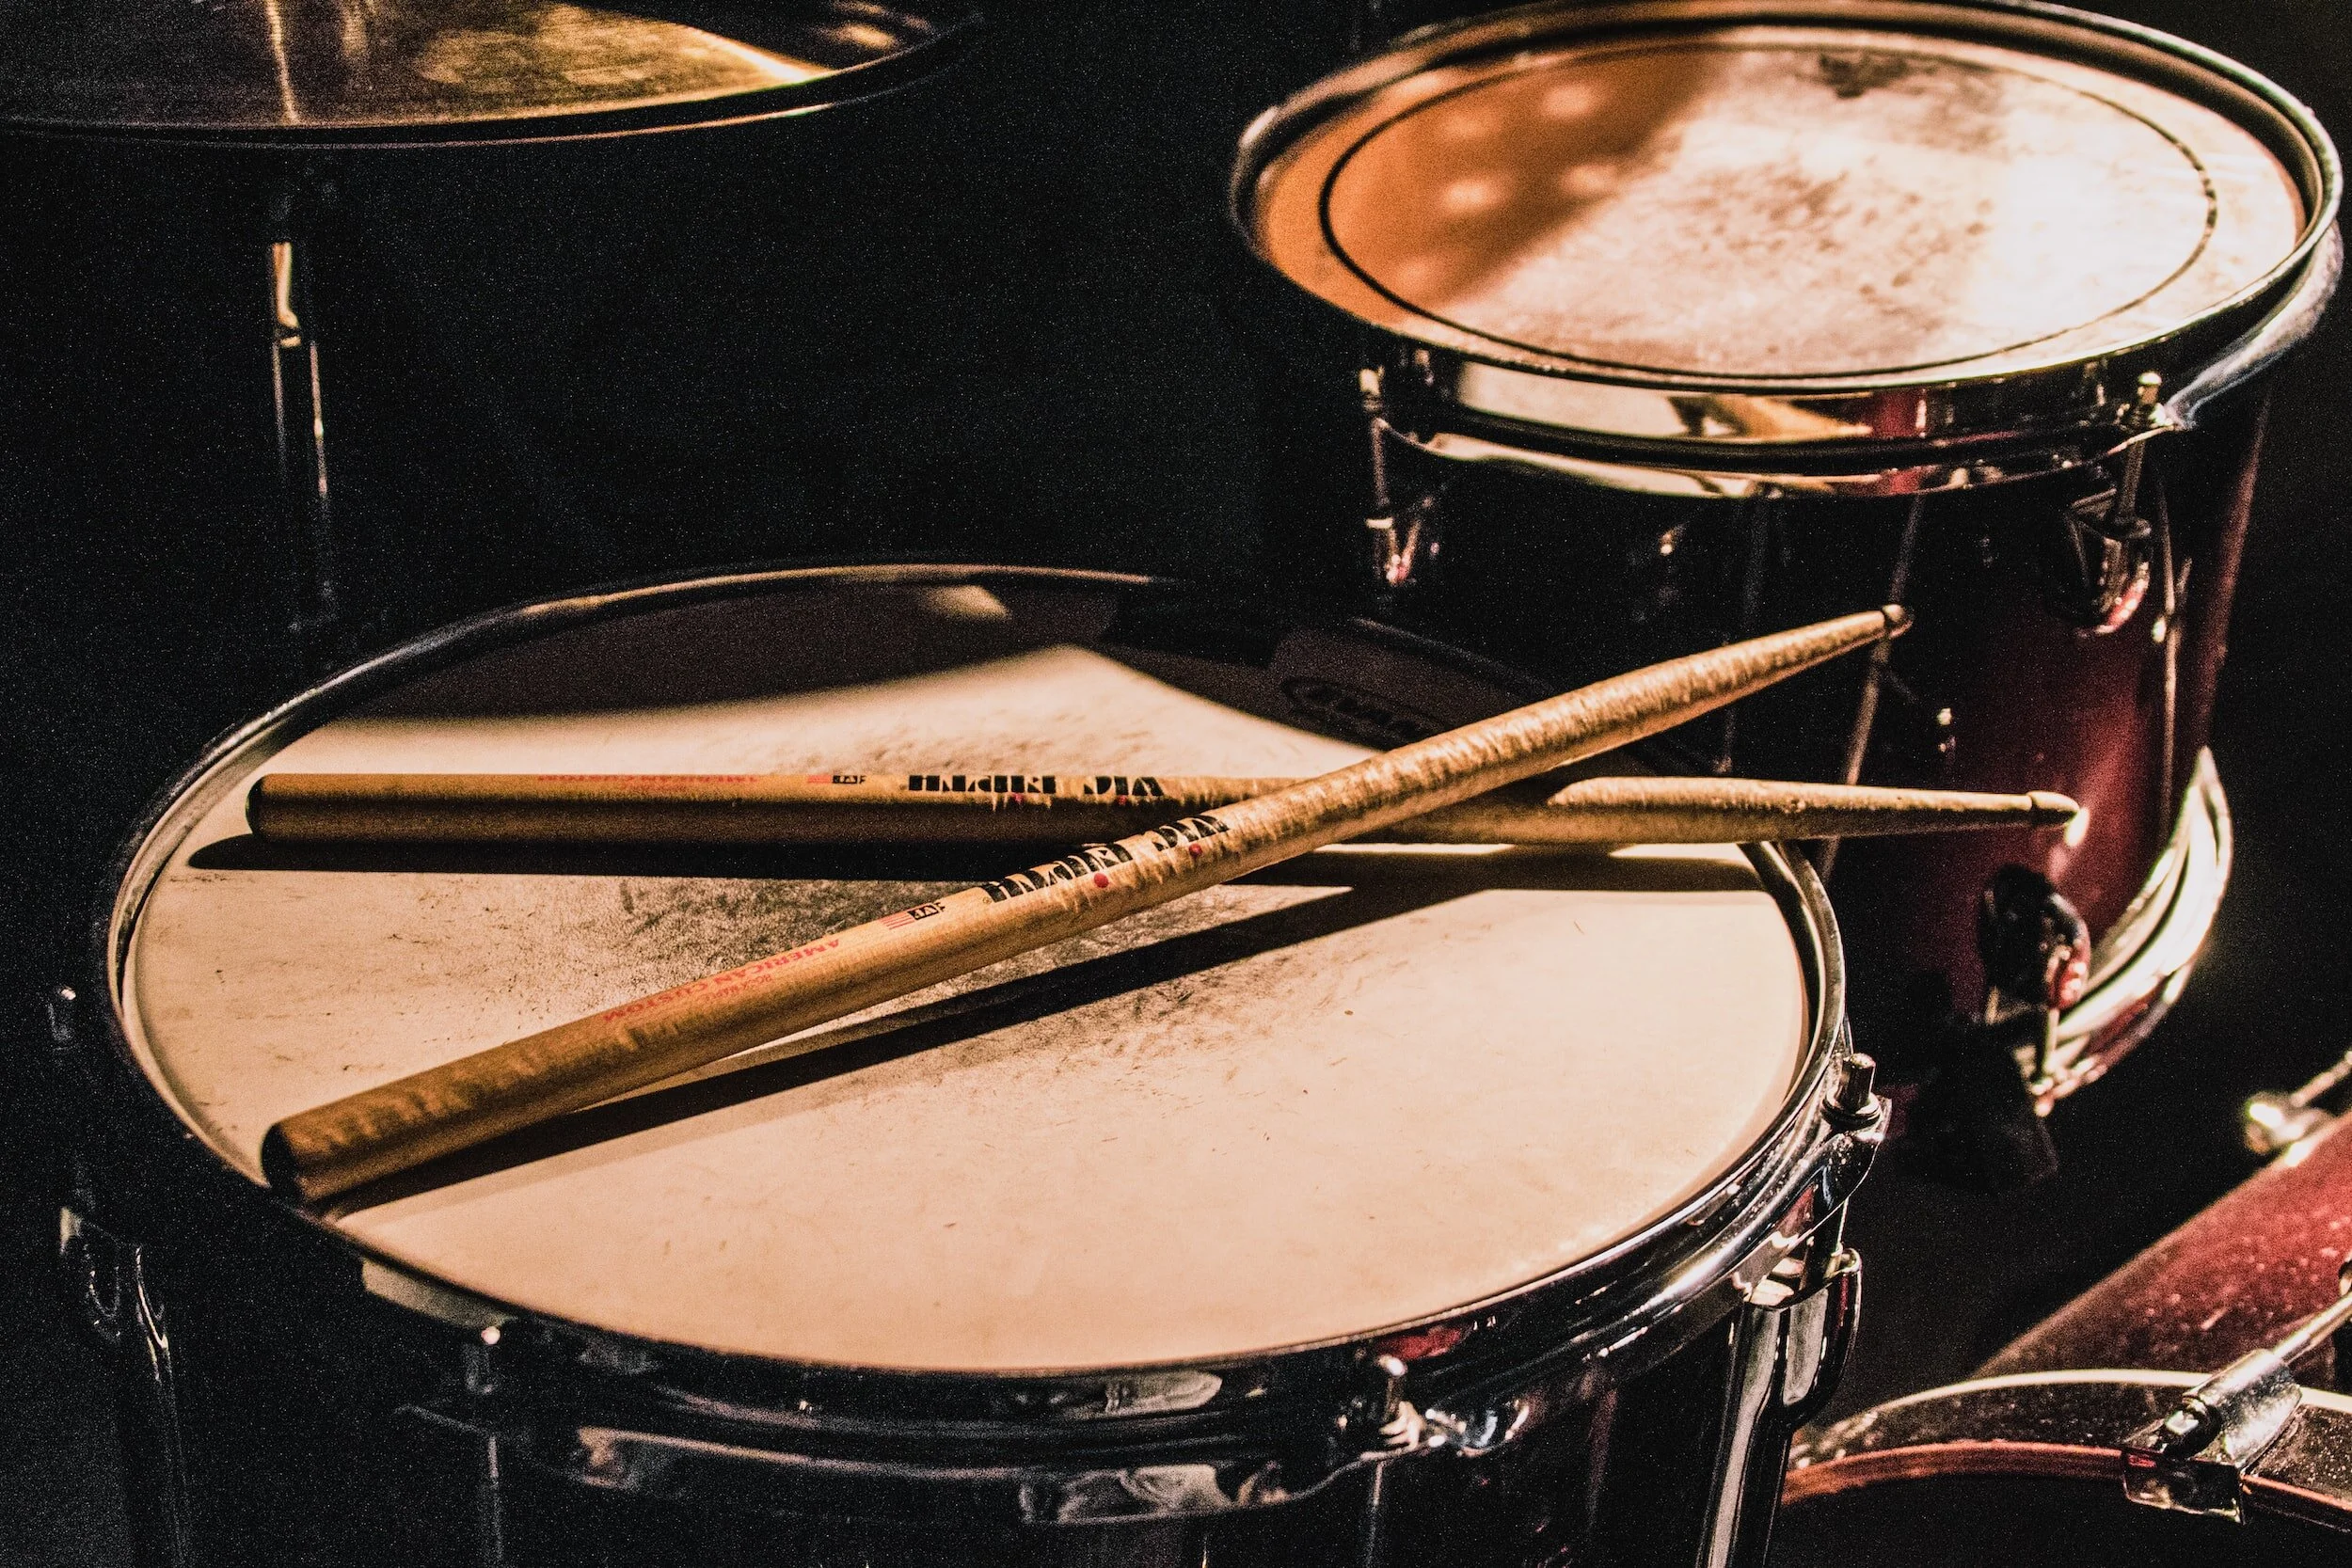
Here are a few tips and tricks to help you get started:
room
The room you record your drums in will have a big impact on the sound. If possible, choose a room that is large and has good natural reverb. This will help to create a more natural and realistic sound. If you don't have a large room, you can try using acoustic treatment to improve the sound. This can be done by placing acoustic panels or diffusers on the walls and ceiling. This will help to absorb sound and reduce echo, which will improve the overall sound quality of your recordings.
Here are some other tips for choosing the right room to record drums:
Make sure the room is quiet and free from outside noise.
Choose a room that has good ventilation.
Make sure the room is well-lit.
Choose a room that is comfortable for you to work in.
Once you have chosen the right room, you can start setting up your drums and recording.


microphone
A good microphone is essential for recording drums. There are many different types of microphones available, so do some research to find one that is right for your needs. Here are some things to consider when choosing a microphone for recording drums:
The type of microphone: There are two main types of microphones: dynamic and condenser. Dynamic microphones are more rugged and can handle loud sounds better, while condenser microphones are more sensitive and can pick up more detail.
The polar pattern: The polar pattern of a microphone determines how sensitive it is to sound coming from different directions. A cardioid polar pattern is the most common type and is good for recording drums.
The frequency response: The frequency response of a microphone determines how well it picks up different frequencies of sound. A microphone with a wide frequency response will pick up a wider range of sounds, which is important for recording drums.
The sensitivity: The sensitivity of a microphone determines how loud it needs to be in order to produce a good signal. A more sensitive microphone will be able to pick up quieter sounds, which is important for recording drums.
The price: Microphones can range in price from a few dollars to several hundred dollars. It is important to find a microphone that fits your budget and your needs.
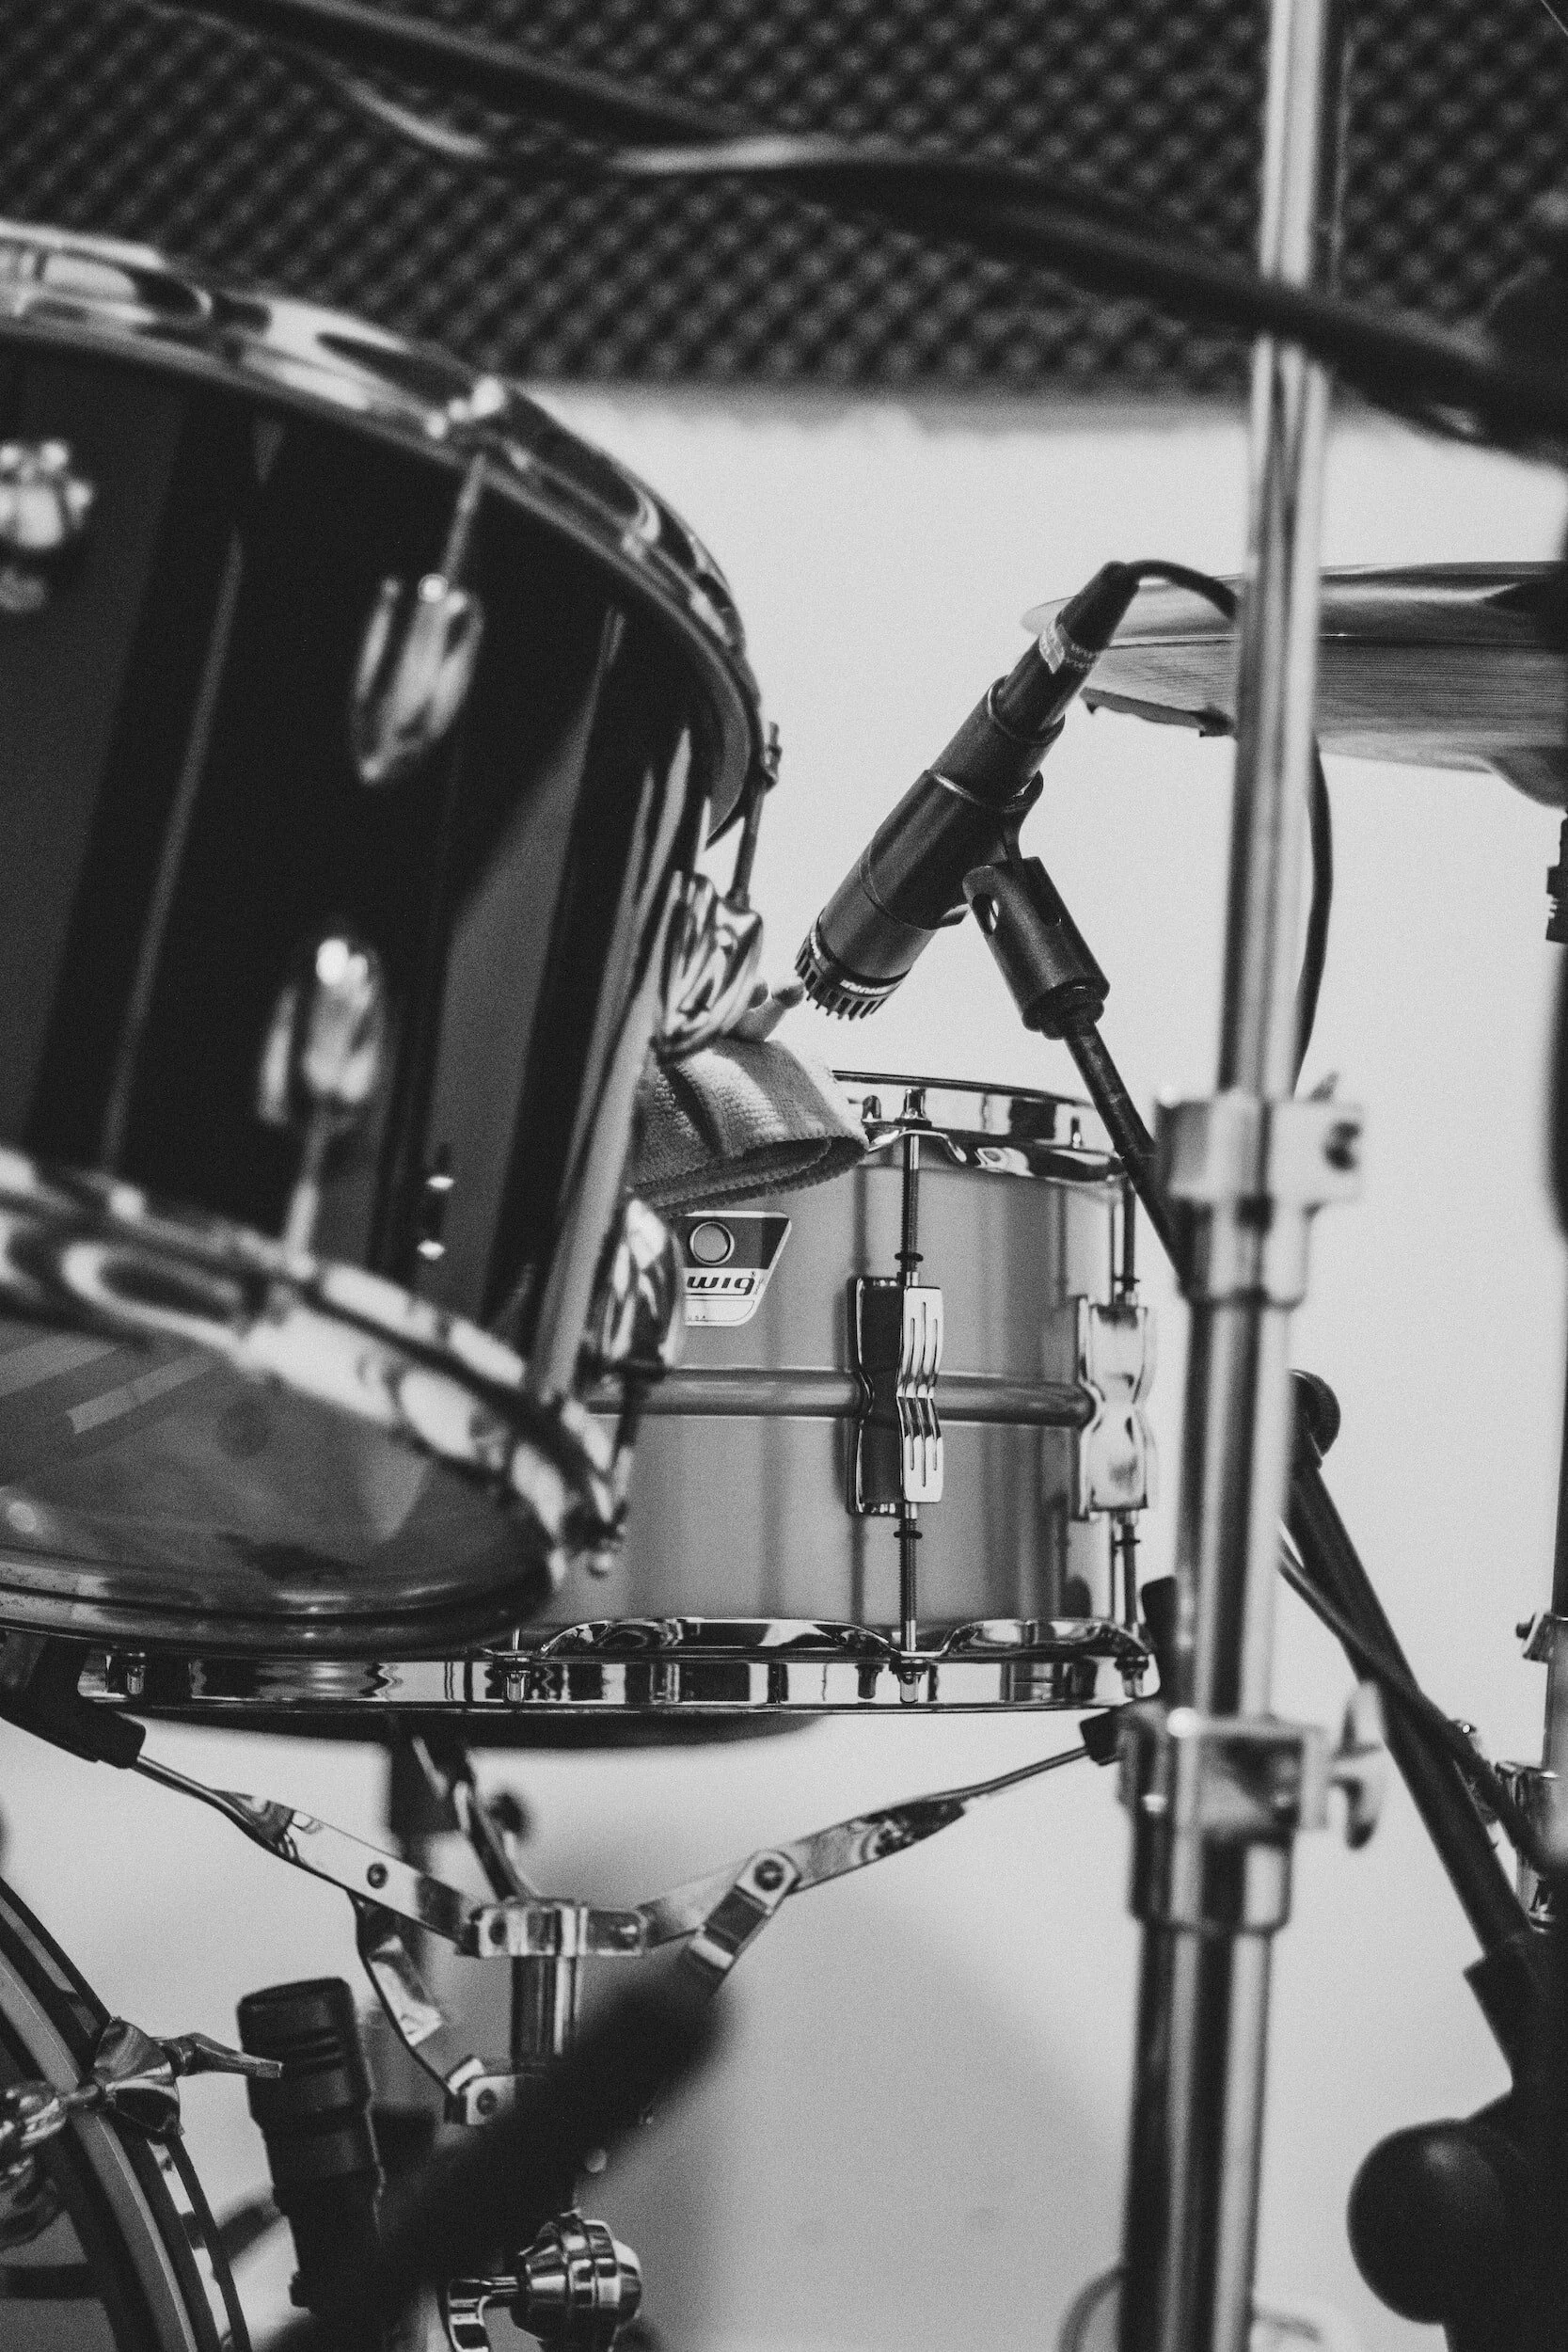
Once you have chosen a microphone, it is important to place it correctly in order to get the best sound. Here are some tips for placing a microphone for recording drums:
Place the microphone close to the drum. This will help to capture the sound of the drum more accurately.
Place the microphone at a 45-degree angle to the drum. This will help to reduce feedback.
Use a microphone stand to hold the microphone in place. This will help to keep the microphone from moving around.
Experiment with different placement until you find the sound you are looking for.
With a good microphone and proper placement, you can capture great-sounding drums for your recordings.
The placement of your microphones will have a big impact on the sound of your drums. Experiment with different placement until you find a sound that you like.
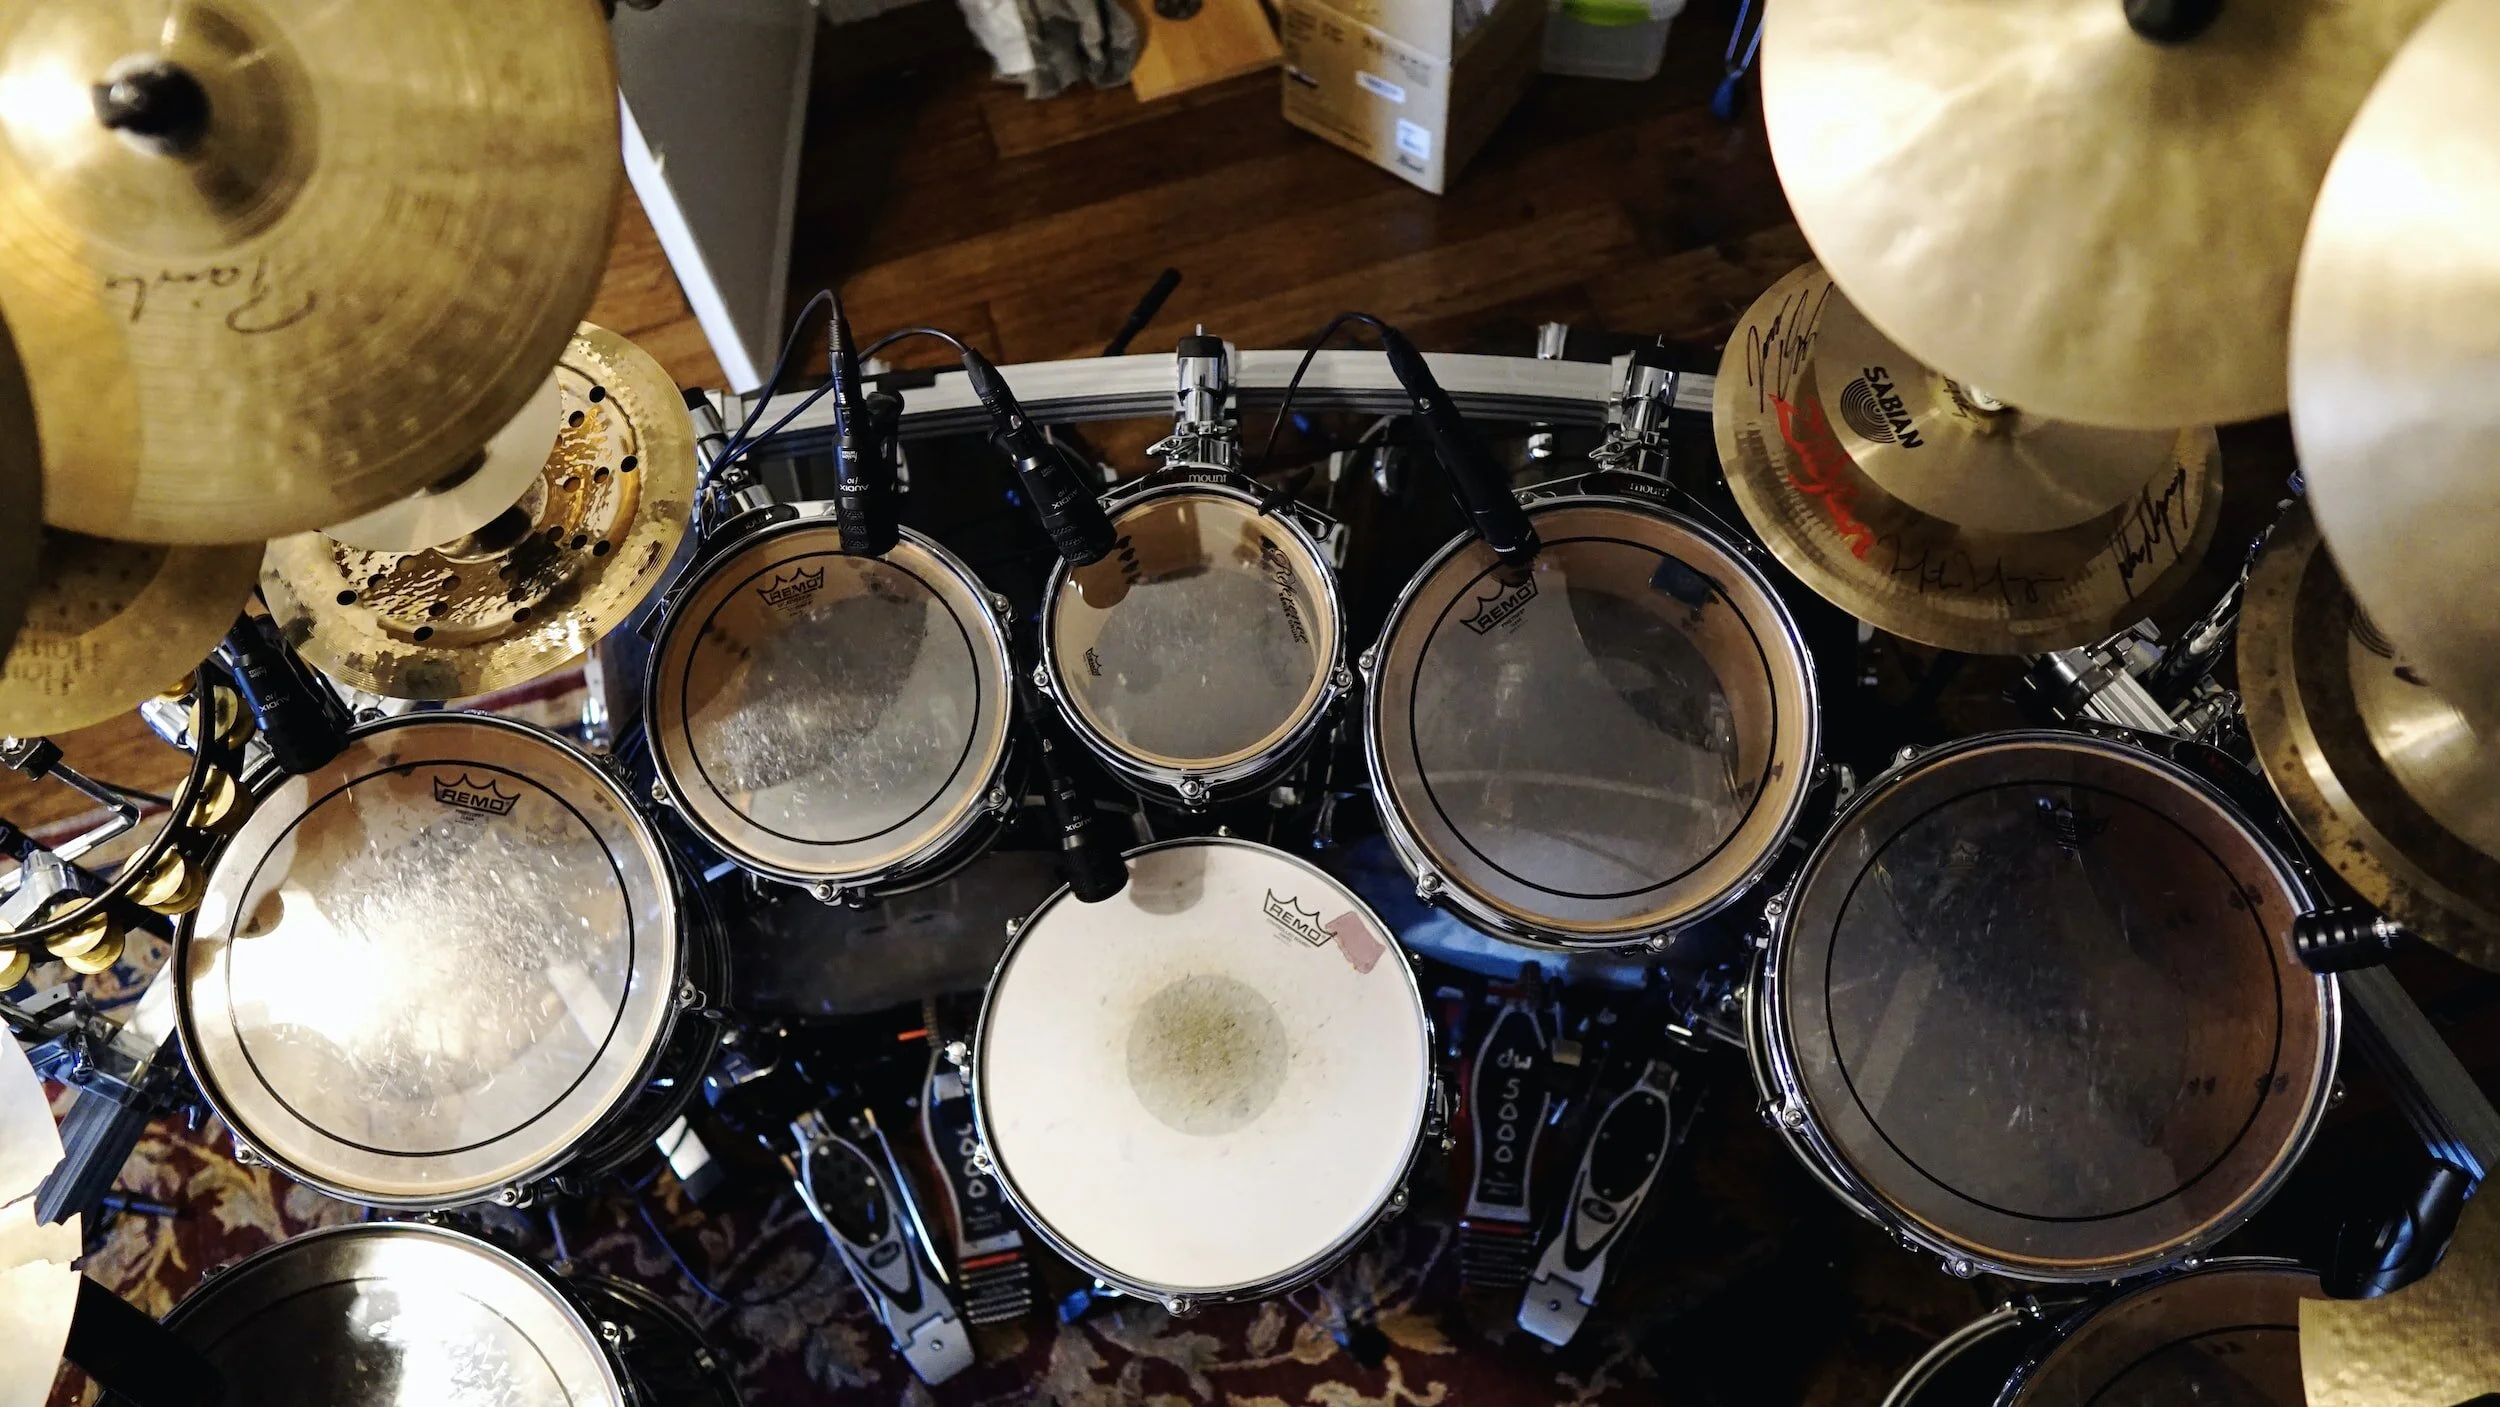
Here are some tips for placing microphones for drums:
For the kick drum, place the microphone about 6 inches from the beater head and about 12 inches from the resonant head.
For the snare drum, place the microphone about 6 inches above the center of the drum.
For the toms, place the microphones about 12 inches above the center of the drum.
For the cymbals, place the microphones about 18 inches above the cymbals.
Experiment with different placements until you find a sound that you like. You may also want to try different types of microphones and different microphone techniques.
compression
Compression is a great way to even out the volume of your drums and make them sound more consistent. It does this by reducing the dynamic range of the signal, which means that the quiet parts will be made louder and the loud parts will be made quieter. This can help to make your drums sound more balanced and polished.
There are a few different ways to use compression on your drums. One way is to use a compressor on each individual drum track. This will allow you to control the dynamics of each drum separately. Another way is to use a compressor on the entire drum bus. This will compress all of the drums together, which can be helpful if you want to achieve a more cohesive sound.
When using compression, it is important to experiment with the different settings to find what sounds best to you. Some of the most important settings to consider are the attack, release, ratio, and threshold. The attack determines how quickly the compressor will start to reduce the volume of the signal. The release determines how quickly the compressor will stop reducing the volume of the signal. The ratio determines how much the compressor will reduce the volume of the signal. The threshold determines at what level the compressor will start to reduce the volume of the signal.
With a little practice, you can use compression to create a more balanced and polished sound for your drums.


eq
EQ stands for Equalization. It is a process of boosting or cutting certain frequencies in an audio signal. This can be used to change the sound of an instrument, or even to create new sounds. When EQing drums, you can use it to make them sound louder or softer, brighter or darker, or to change their overall timbre. Experiment with different EQ settings until you find a sound that you like. You can also use EQ to remove unwanted frequencies from your drums, such as low frequencies that are muddying up the mix or high frequencies that are too harsh.
Here are some tips for EQing drums:
Start by boosting the frequencies that you want to emphasize. For example, if you want your snare drum to sound brighter, boost the high frequencies.
Then, cut the frequencies that you want to reduce. For example, if you want your kick drum to sound less muddy, cut the low frequencies.
Be careful not to boost or cut too much, or you will start to distort the sound.
Experiment with different EQ settings until you find a sound that you like.
You can also use EQ to create new sounds. For example, you can use EQ to make a snare drum sound like a tom or a cymbal.
Reverb
Reverb is a sound effect that can be used to make drums sound bigger and more spacious. It works by simulating the sound of sound waves bouncing off surfaces in a room. This can be done by using a reverb plugin, an effects unit, or by recording your drums in a room with a lot of natural reverb. When used correctly, reverb can add depth and richness to your drum sound.
Here are some tips for adding reverb to your drums:
Start with a small amount of reverb and add more until you get the desired effect.
Experiment with different reverb settings to find the sound that you like best.
Use reverb sparingly, as too much can make your drums sound muddy.
If you are recording your drums in a room with little natural reverb, you can use a reverb plugin to add some artificial reverb.
Mix carefully.
mixing
The mix is very important when recording drums. It is important to make sure that the drums are balanced with the other instruments in your song. If the drums are too loud, they will overpower the other instruments and make it difficult to hear them. If the drums are too quiet, they will be lost in the mix and will not be able to contribute to the overall sound of the song. It is important to find a balance that works well for your song and that allows the drums to be heard clearly without overpowering the other instruments.
Here are some tips for mixing drums:
Use EQ to boost or cut certain frequencies.
Use compression to control the dynamics of the drums.
Use panning to place the drums in the stereo field.
Use reverb and delay to add space and depth to the drums.
Experiment with different mixing techniques until you find a sound that you like.
Practice makes perfect.
The more you practice, the better you will get at recording drums. So don't be afraid to experiment and try new things.
other tips to try
Use a drum rug to reduce noise and vibration. This will help to keep your recordings clean and free of unwanted noise.
Record multiple takes and comp the best parts together. This will give you more flexibility in editing and will help you to get the best possible sound.
Use a reference track to help you get the sound you want. A reference track is a recording of a song that you like the sound of. You can use this track to compare your own recordings and to help you achieve the sound that you are aiming for.
Take breaks often to avoid fatigue. Recording drums can be very tiring, both physically and mentally. It is important to take breaks often to avoid fatigue, which can lead to mistakes.
Have fun!
Hey, we’re RPMusic Studios, a real-life Recording Studio on the beautiful Eastern Shore of Maryland. We love our recording studio, Youtube Channel and Blog, and we hope you do too. If you enjoyed this post, don’t forget to SUBSCRIBE below. Want to learn some awesome recording tips? Grab your FREE GUIDE here. And feel free to visit our website, follow us on social media, and drop us a line anytime. We’d love to hear from you! 🎸