
Creative Ways to Soundproof Your Home Studio: Think Outside the Box!
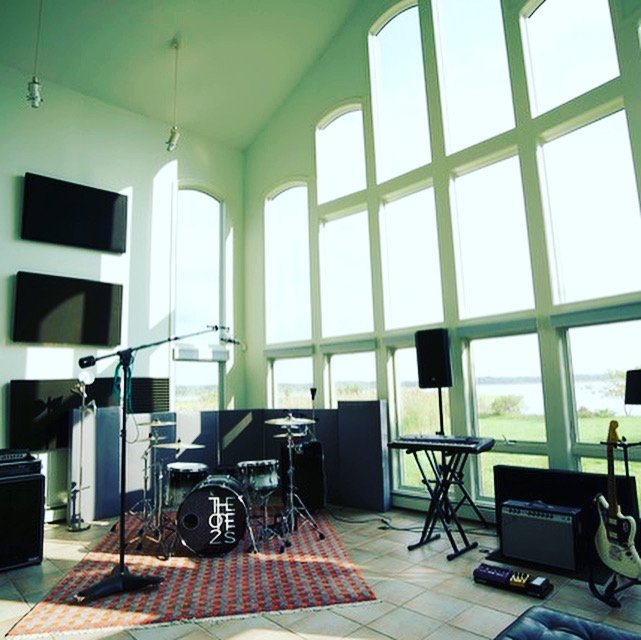
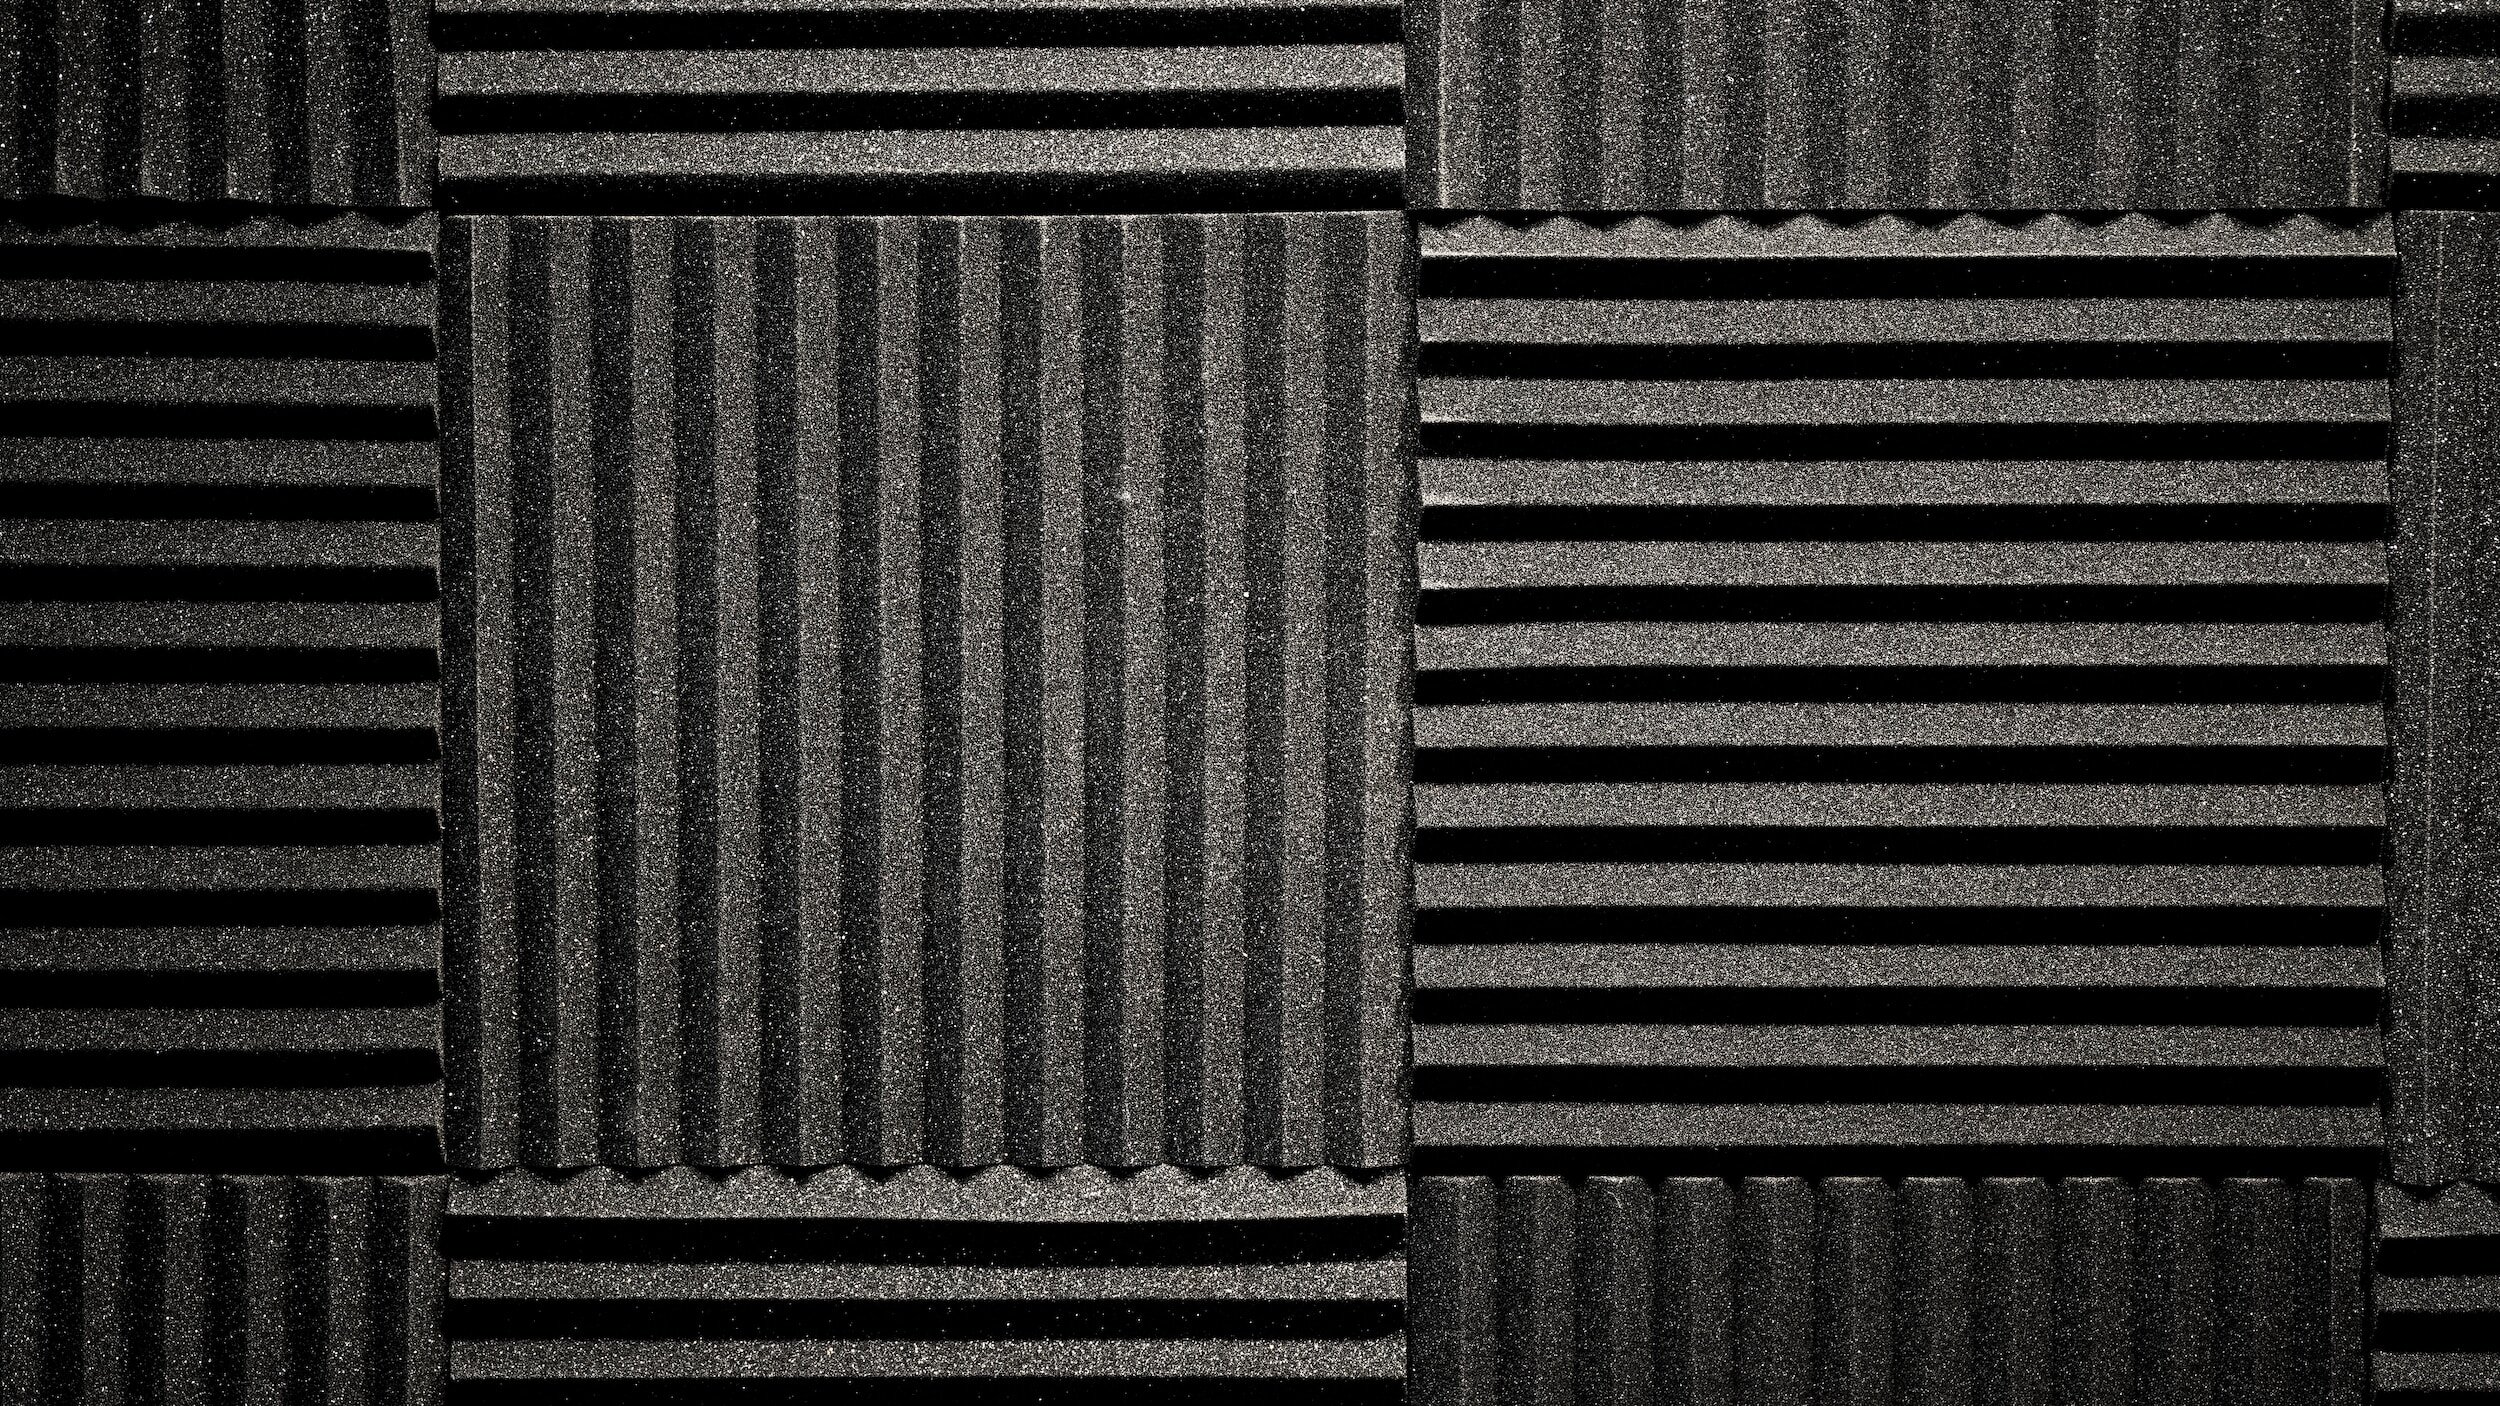
We MADE these sound panels!
If you're looking to whip your home studio into acoustic shape, we're here to help.
Soundproofing may not be the sexy side of music production, but, believe me, it's one of those unsung heroes that can make or break your tracks.
Soundproofing Basics: Understanding the Importance of Soundproofing in a Home Studio
But what exactly is soundproofing? In essence, it's the process of preventing sound from escaping (or sneaking into) your studio space, hence allowing you to achieve a fantastic-sounding studio right in your basement, bedroom, or wherever your creative hub may be.
So, not only does soundproofing allow you to keep the peace with the folks next door, but it also heightens the quality of your recorded sound. Win-win, right? But soundproofing can seem like quite the daunting task, particularly because of misconceptions about cost and complexity. Stay tuned as we take you on a budget-friendly journey to soundproofing success.

Evaluate Your Space: Assessing the Acoustic Needs of Your Home Studio
Okay, you've decided to take that pivotal step to convert a part of your home into a recording studio. The first fundamental step in ensuring your home studio's success is to accurately assess your space's acoustic needs. And how do we do that?
First things first - we need to inspect your environs. Start by considering the location and architectural elements of your studio room. Is it next to a bustling highway or a neighbor who’s an impassioned opera singer? Are the walls paper-thin or do the sounds of the outside world sound like they’re holding a concert in your living room? Remember, ambient noise can be the invisible nemesis of your home studio.
Next, pay attention to the size and shape of the room. Does it have high ceilings and weird architectural oddities or is it just a compact rectangle like most bedrooms? These factors influence sound waves and hence, they can significantly affect the audio quality of your recordings. Remember, high ceilings can cause echoes, while odd shapes can lead to unwanted sound refractions. On the other hand, a small rectangular room can result in standing waves, which create that dreaded bass build-up. Understanding these challenges is your first step in creating a soundproof haven for your music. Get ready to dive into the world of soundproofing!
Carpet or Hardwood: The Battle of Surfaces
Ask yourself, "Is my recording space carpeted, tiled, or does it have wooden flooring?" Remember: hard, reflective surfaces (like tiles and hardwood) can create unwanted reverb and echoes. On the flip side, if you’ve got carpet, you have already won half the battle against unwanted sound reflection! But we understand, you can't exactly rip out your floors overnight, so don’t worry, your flooring type won't be a showstopper. We'll simply need to factor it into the overall soundproofing strategy.
Windows: Friend or Foe?
Windows are lovely, aren't they? They let the sunshine in and show you a slice of the outside world—unless you're a vampire—or a sound engineer. Windows are notorious for leaking sound, both coming in and going out. If you have windows in your room, consider this in your soundproofing plan.
The Curse of Echo
Are echoes making a festival in your room? If you say "Hello" and hear three hellos back, be sure to understand this isn't a case of ghostly presence. It's a clear indication of reverberation, which needs to be addressed when soundproofing your home studio.
Throughout this process, keep in mind that the goal is not to create a completely “dead” space with zero reverberation or reflection—unless you're trying to record in anechoic chamber-like conditions (which simply isn’t necessary for most of us). Balanced acoustics is the mantra here – getting the right mix of absorption, diffusion, and reflection to create a space where your music can truly shine.
Remember: Every room is unique, like a fingerprint. The architecture, surroundings, and materials used in construction all play a game of strategy in the realm of acoustics. So, dear sound warriors, it's time not just to play your music but to listen to the song of your room. It has a rhythm and a beat, and only by understanding it can you command the symphony of channeling your music with perfection.


Repurposing Materials: Using Everyday Items for Soundproofing


Armed with just a few basic materials, we are all set to battle the noise infiltration. They include: Firstly, insulation materials like Rockwool or Fiberglass, these are great allies in the war against unwanted noise. Rockwool is especially effective, but Fiberglass isn't to be sniffed at either (literally and figuratively!). Maybe you already got some lying around in your attic or shed? And if you don't, it's a relatively inexpensive way to make a huge difference.

Secondly, consider hanging up some sound-absorbing curtains. They work wonders in terms of reducing echo within a room, thus resulting in a cleaner, more precise sound. Besides, like any good pair of curtains, they add texture and warmth to a room – you'll be killing two birds with one stone! Not literally, we hope.
Next up, think about utilizing weatherstripping tape. Originally designed to seal gaps in doors and windows to keep the weather out, it's also excellent for audio isolation due to its high-density foam. It's a small touch that can yield big results, like that final spritz of cologne before going on a date.
Lastly, don't forget the power of bookshelves! Ever noticed how libraries are so quiet? Packed bookshelves can function as significant sound barriers. If you're an ardent reader with a collection to display, this will be a win-win situation for you - soundproofing and styling your studio at the same time. And if books are not your thing? Hey, there's always vinyl records(we actually do this at Raccoon Point Studios), art, or movie memorabilia to line those shelves. Books and other hefty materials can absorb sound waves and thus help minimize the echo in your space. Consider strategically positioning your bookshelves against the walls you want to soundproof. Vinyl records, art pieces, or movie memorabilia can also serve dual purposes - adding personality to your studio while helping with sound absorption. Regardless of whether you're a bibliophile, vinyl enthusiast, or cinephile, your collection can double as an effective, cost-efficient soundproofing material!
here is a list of things that you probably have not considered:
Greenery: Indoor plants can help absorb sound and create a more pleasant atmosphere in your studio.

Double Drywall: Adding a layer of drywall to existing walls can significantly improve soundproofing.
Cork Boards: Attach cork boards to walls to absorb sound and create a visually appealing studio.

Sealing Electrical Outlets: Use foam or putty to seal electrical outlets, which can be sound leak points.
Soundproofing Paint: Special soundproofing paints are available that can add an extra layer of soundproofing to your walls.
Building Your Own Soundproofing Panels: A Step-by-Step Guide
Feeling thrifty and handy? This section offers a step-by-step guide for building your own soundproofing panels. Remember, doing it yourself doesn’t mean compromising on quality and this guide ensures exactly that; high-quality soundproofing without draining your wallet. We have done this many times at the studio, using all kinds of fabrics and materials with varying success. Paying attention to detail and not rushing is advised. For fabric, we sometimes would get a roll at a discount store or sheets at Walmart. The wood you use matters. Of course the more expensive the better, but cheapie will do in a pinch. When we started there were few budget-friendly options!
Materials You'll Need:
2x4 Timber
Rigid Fiberglass Panels
Acoustic Fabric
Wood Screws
Staple Gun
Scissors
Step 1: Frame Building
First, cut your 2x4 timber to the desired size. We'd recommend a dimension of 2x4 feet – it’s manageable and works efficiently. Arrange them into a rectangle and secure the corners using wood screws. This forms the frame of your soundproofing panel.
Step 2: Insert the Fiberglass
Slide your rigid fiberglass panel into the frame. Did you think those fluffy pink insulation panels hanging out in your basement were only good for keeping your house cozy? Think again! Here they come for your soundproofing rescue. Make sure the fiberglass fits snugly. And don't forget your safety gear - gloves, masks, and eye protection - when handling fiberglass.
Step 3: Cover it Up
Now, wrap the frame in your chosen acoustic fabric. Choose a fabric in a color and style that you like – remember that you'll be looking at it a lot. Using your staple gun, you're going to want to secure the-fabric-to-frame at the back. Make sure it's nice and taut with no wrinkles to show off your top-notch workmanship.
Step 4: Fix it Up
Your home-built soundproofing panel is ready to be fixed into place. It can be mounted on the walls or left standing using small brackets. Either way, you're sure to get a massive improvement in your home studio's sound quality!
When it comes to soundproofing on a budget, you don't have to let your dreams be dreams. With the know-how, a sprinkle of creativity, and a touch of elbow grease, you can create a home studio that would make even the pros a little envious. Be proud - you did this!
Before you start celebrating your hands-on success with a well-deserved jam session, let's review some of the common mistakes to avoid in soundproofing your studio in our next section.


Common Mistakes to Avoid in Soundproofing Your Studio
Okay folks, we've gone through the basics, we've examined our environs, praised the potentials of repurposing materials, and even built our own soundproofing panels. Feeling like a pro already? Wait! Don't get too carried away just yet because we could still blow this soundproofing gig, big time.
Here are some common mistakes you certainly want to sidestep as you get your home studio cloaked in serene silence.
Failing to Seal Gaps and Cracks: If you put all your effort into building comprehensive soundproofing solutions but neglect to seal gaps and cracks, you're missing the mark! Sound, like a resourceful little ninja, finds its way through the slightest of gaps. So, get your caulk gun wielded in true DIY spirit and declare open war against these crevices.
Incorrect Installation of Soundproofing Material: It's not just about frantically sticking material here, there, and everywhere, is it? Nope! Soundproofing is a methodical art. Make sure your material is installed correctly, meticulously covering all relevant areas, and paying particular attention to corners, doors, and windows.
Underestimating Reverberation: Ah! The old "echo issue." Don't be fooled into thinking that blocking external noise will magic this problem away. The enemy could be within! Reflective surfaces inside your studio can cause those pesky echoes. So remember to decouple, absorb, and diffuse to cover your bases.
Assuming More is Better: Quite the paradox but more soundproofing material does not necessarily translate to more soundproofing. Balance is key to achieving optimal sound absorption and diffusion. Overloading your studio with excessive material may result in a "dead" and overly dampened sound environment.
Now that you're privy to these pitfalls, you're well on your way to creating a home studio that's more soundproof. Remember, the devil is in the detail, so be thorough, precise, and calculated in your soundproofing artillery deployment. And if you do goof up? Hey, that's part of the learning curve. Dust off the sawdust, learn from your mistakes, and keep on perfecting your studio.
Search for Used Gear Here: https://reverb.partnerlinks.io/6whxi3lh183f
Take a look at our Reverb Shop here: https://reverb.com/shop/rpmusic
Hey, we’re RPMusic Studios, a real-life Recording Studio on the beautiful Eastern Shore of Maryland. We love our recording studio, YouTube Channel, and Blog, and we hope you do too. If you enjoyed this post, don’t forget to SUBSCRIBE below. Want to learn some awesome recording tips? Grab your FREE GUIDE here. And feel free to visit our website, follow us on social media, and drop us a line anytime. We’d love to hear from you! 🎸
If you think someone will like what we do please forward!
BLOG Disclaimer: These are affiliate links, which means we receive a commission if you click on them and make a purchase. This is at no additional cost to you and it helps us fund our business and bring you more helpful content. We only recommend products that we believe in. Thank you for your support!
If you dig this then subscribe to our newsletter to get more!


